diy plastered side tables.
where are my non ‘diy’ pals at?! Listen, i’m pretty anti diy and have been for years. If I can pay to have it already done, i’m going to do that. I just find it’s so much better quality and sanity saving in the long run.
HOWEVER…I have a very specific high quality taste where the dollars don’t quite match up to said taste yet. So when I can’t buy what i’d love to, or can’t justify something like a bedside table being $1k, i’ll ‘diy’ it. and that’s where we find ourselves here! Hope my quick day project of plastering bedside tables helps you in time and dollars too! next time, we’re going to work on making this happen with materials straight from the earth.
(ps — leaving all photos unedited so you can see you true colors and textures)
THIS WAS THE ORIGINAL INSPO:
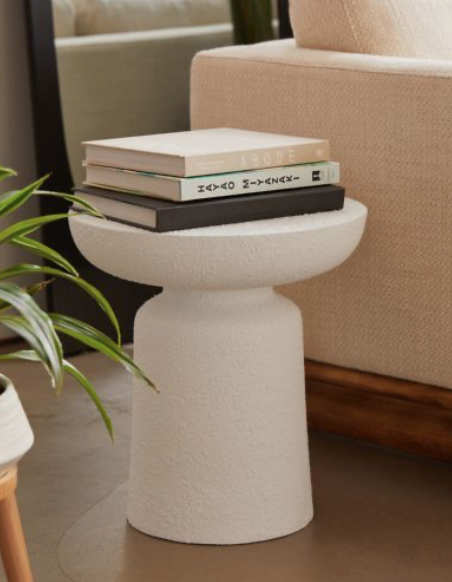
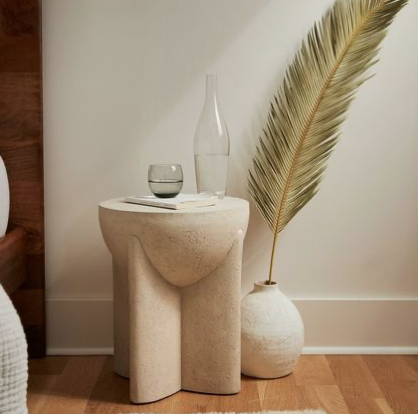
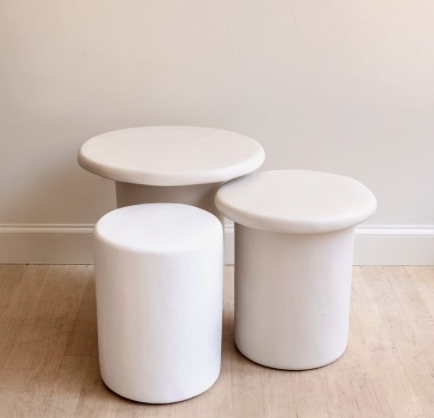

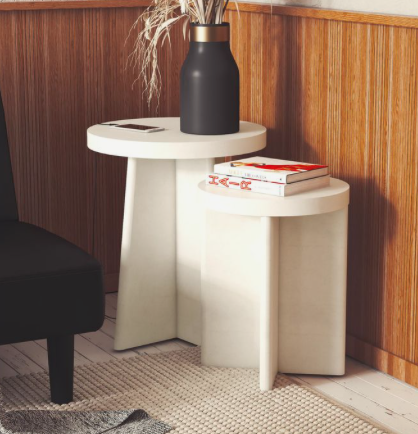
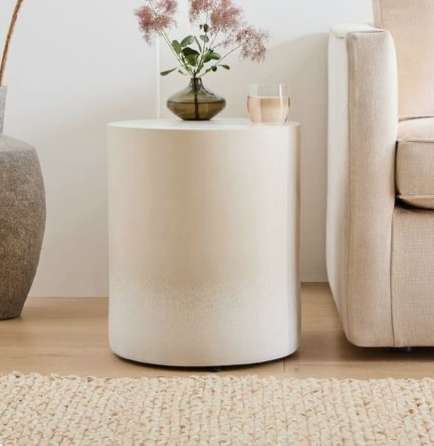
All of these above ranged in price from $199 being the cheapest to $3,200 being the most expensive, but honestly $199 per table still wasn’t in my budget. I decided at this point to diy the project and started by finding a shape that I liked in an iron side table off amazon. I found this one which was perfect because I hated the color anyway (a brown with teal patina)! When we purchased them, it was $40 for one table.

STEP 1:
There are a lot of tutorials that will tell you to wrap it in tape or give it a good sanding to make your paint stick better, but i’m here to tell you that all you need to do is give it a quick coat of spray paint + primer in a color close to what you want your finished product to be. I wanted a white/creamy plaster so I chose a white spray paint and gave them a quick coat with one bottle divided between them to make the plastering less.

STEP 2:
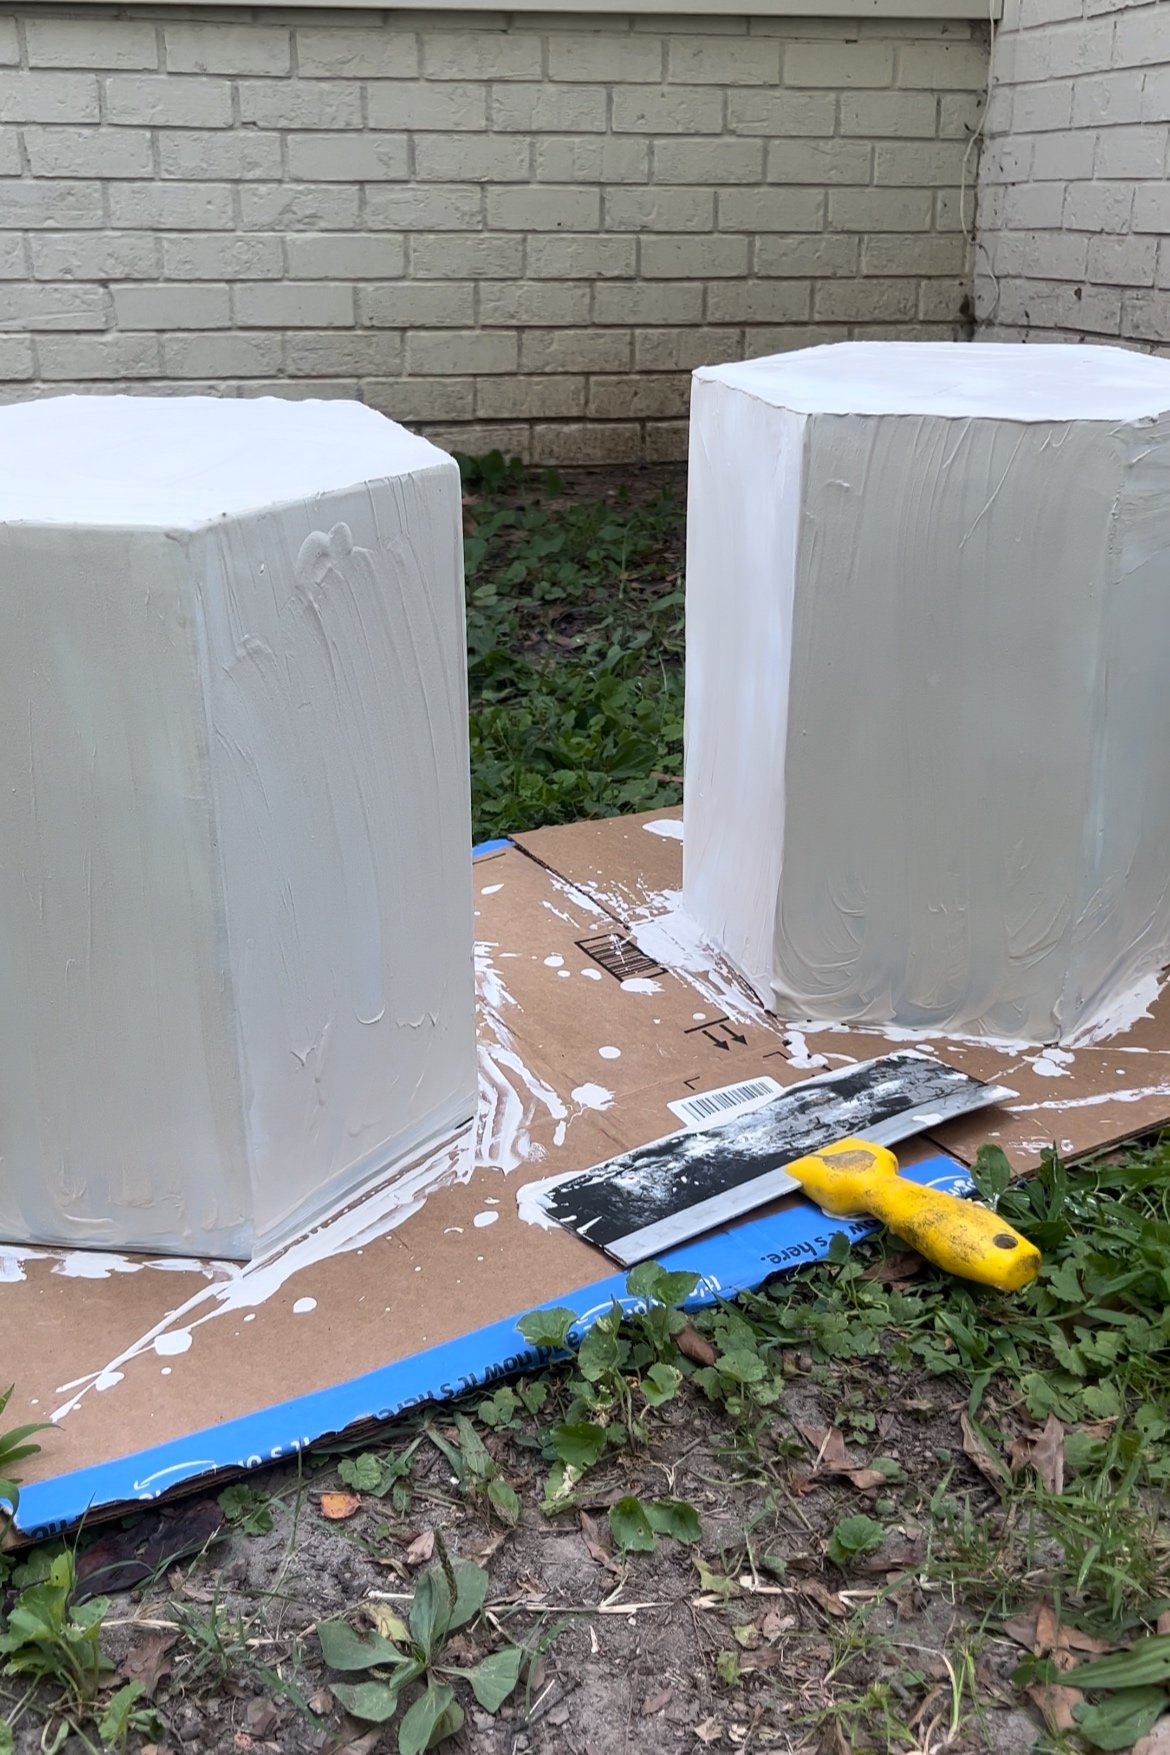
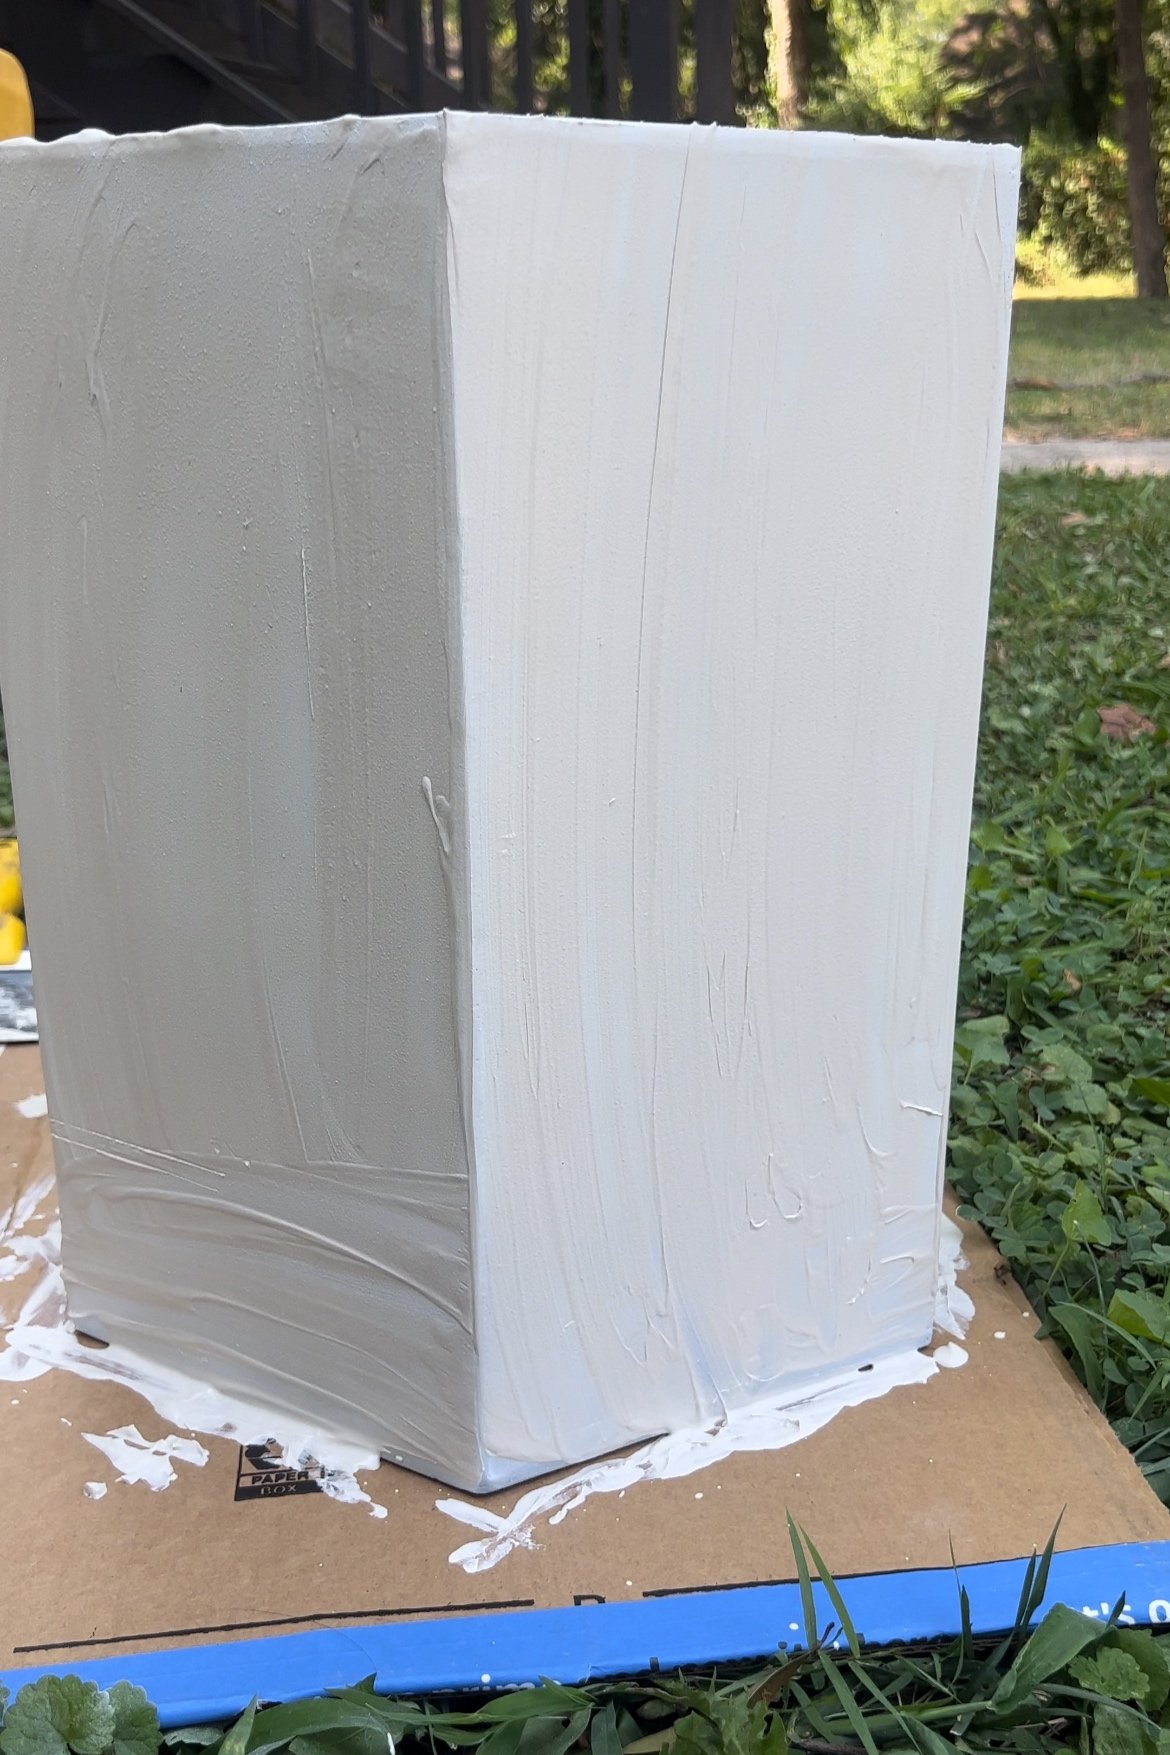
I let them dry for a couple hours to make sure the paint wasn’t wet before moving on to the plastering. I purchased this plaster off Amazon along with the tables and mixed it up according to instructions. I learned that you don’t want it too thick because it will dry up quicker than you can spread it, but I also learned that you need it thicker than a runny consistency to be able to spread it. Something like a pancake batter is best.
You will want to do just a solid coat of it first to cover the paint and all the original color underneath. You don’t need to worry about it looking pretty on this step. Just get it covered and smooth. Note that the color when wet is going to be darker than when it dries which you can see in the photos below.
Tip: I initially used a spackle/putty knife to spread the mixture, but found that I preferred the aesthetic of using my hands to spread it. By doing this, I was also able to use the plaster quicker on the tables and use more of it.
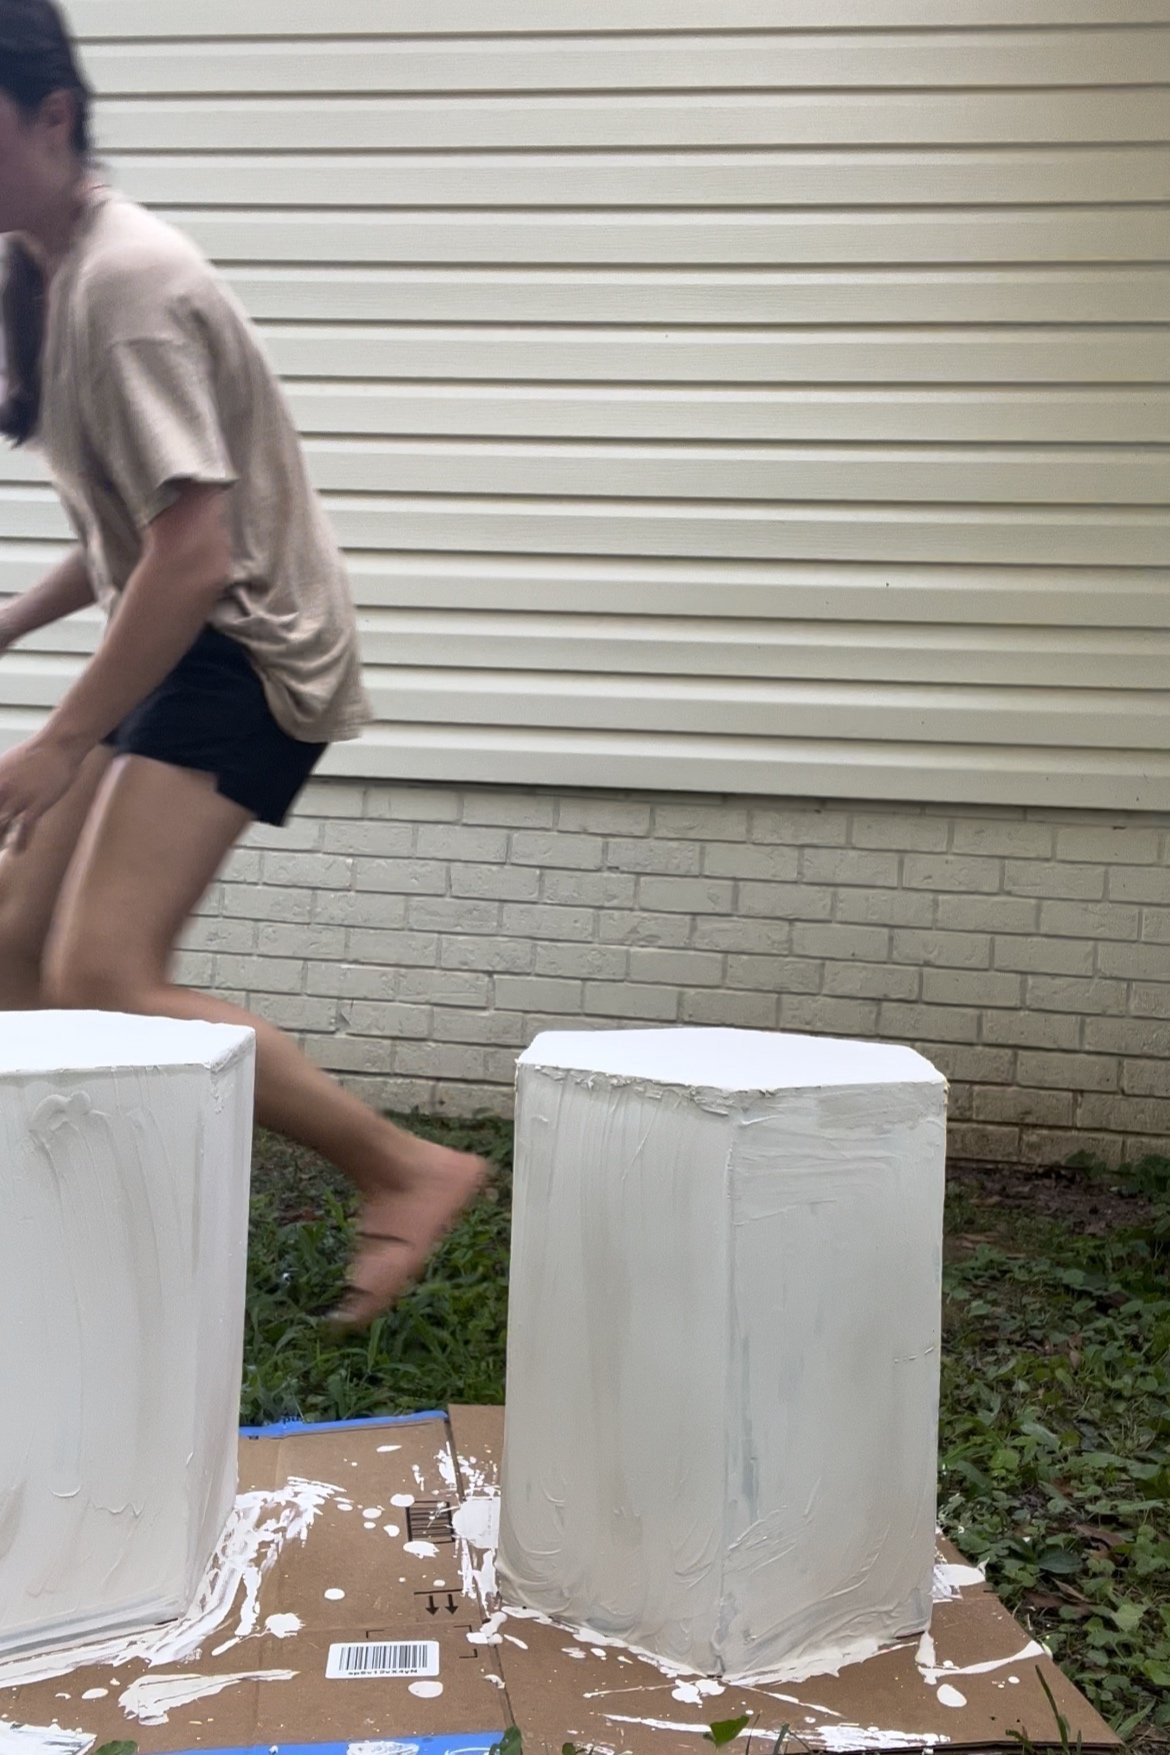
STEP 3:
Repeat plastering from step 2. This time though, you’ll want to work on achieving the end look you want. I knew I wouldn’t need another coat after this one, so I worked on getting it as close to what I wanted as I could. You could keep coating it until you have what you want, but keep in mind it does thicken up the look the more you add.
STEP 4:
This will be the last step in your process, coating it with a sealant to protect it from chipping and stains. I used this spray from Amazon in the matte finish to keep that overall plaster look without the mess. I went over each table twice with the spray after the first coat dried.
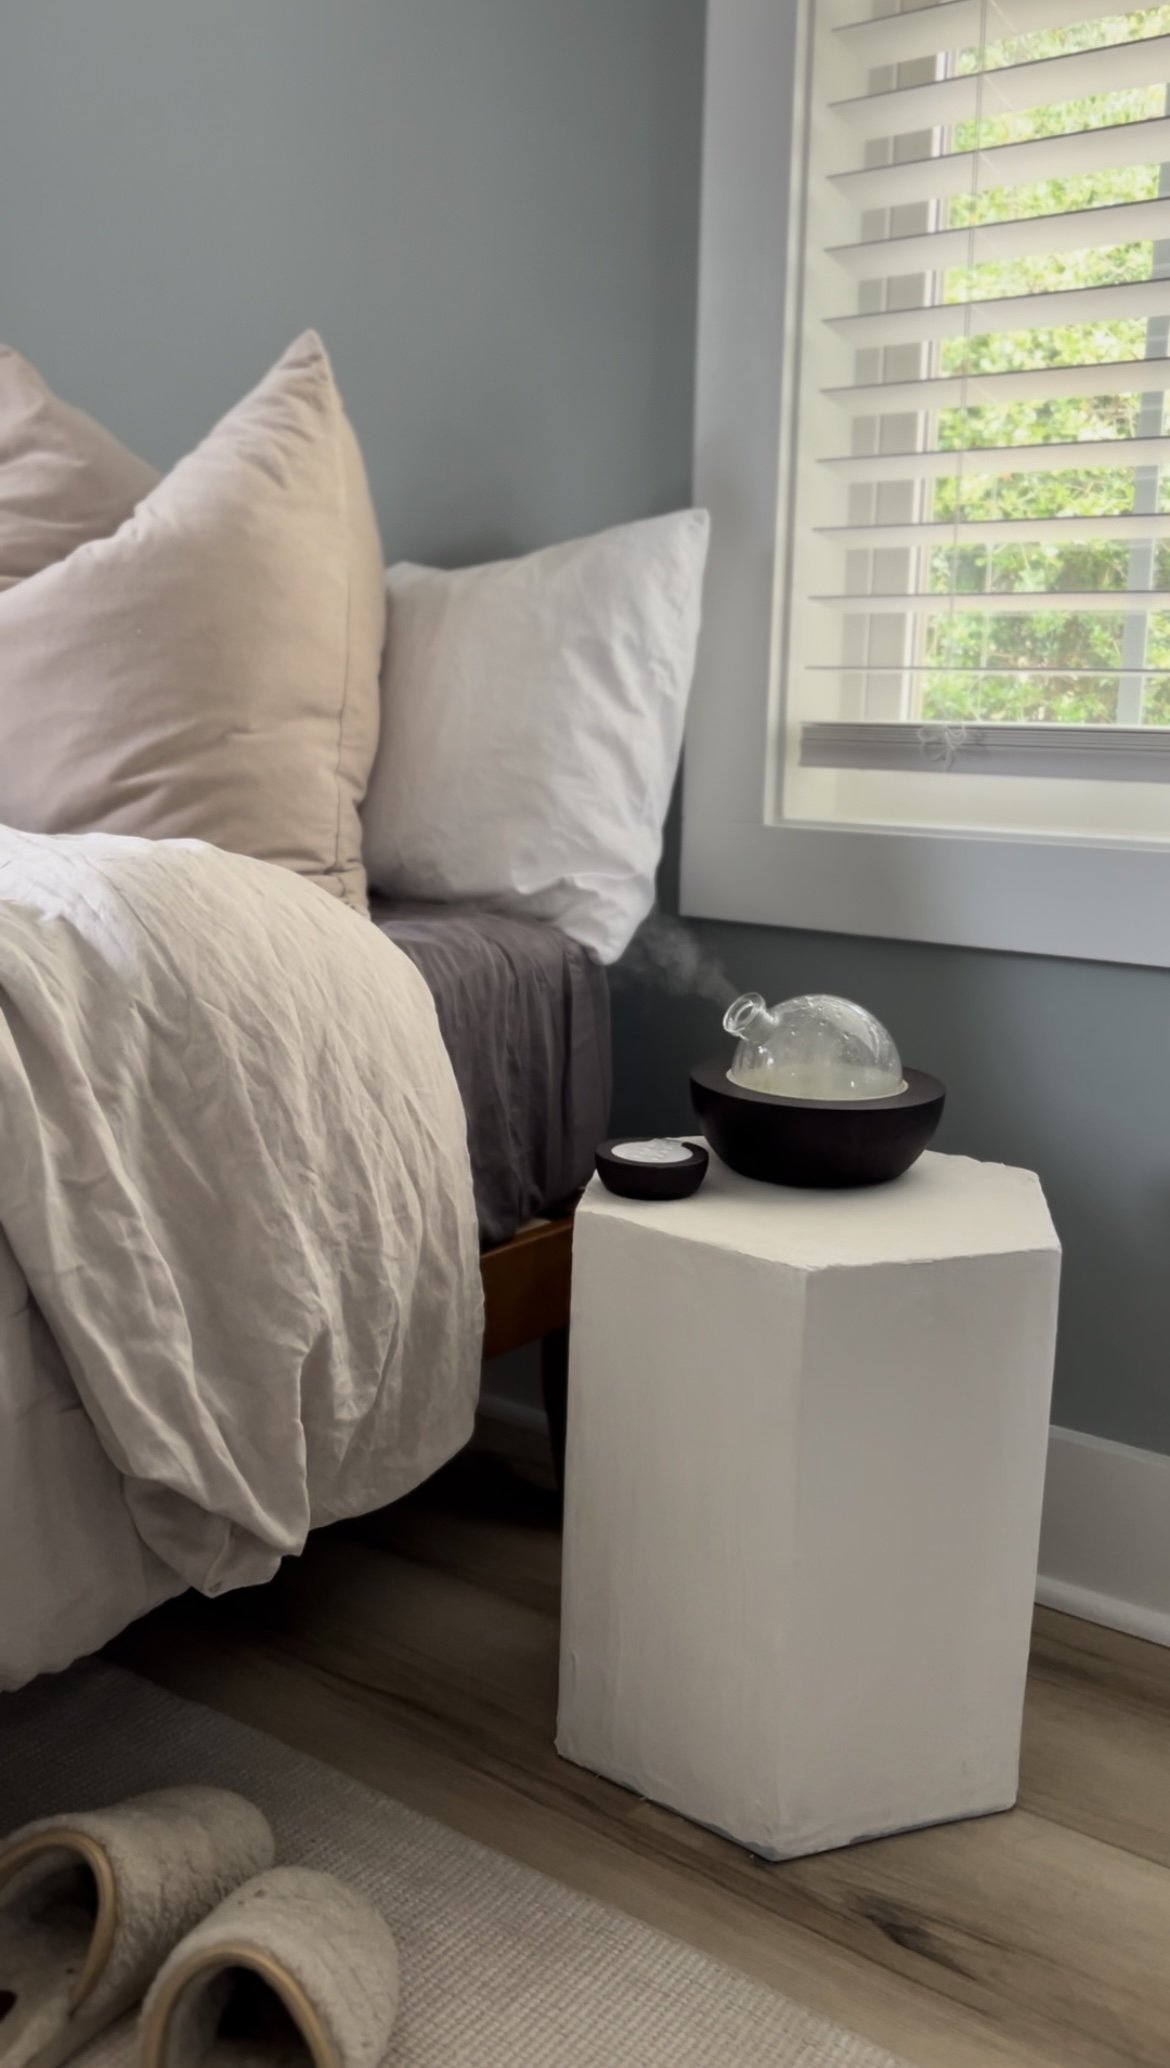
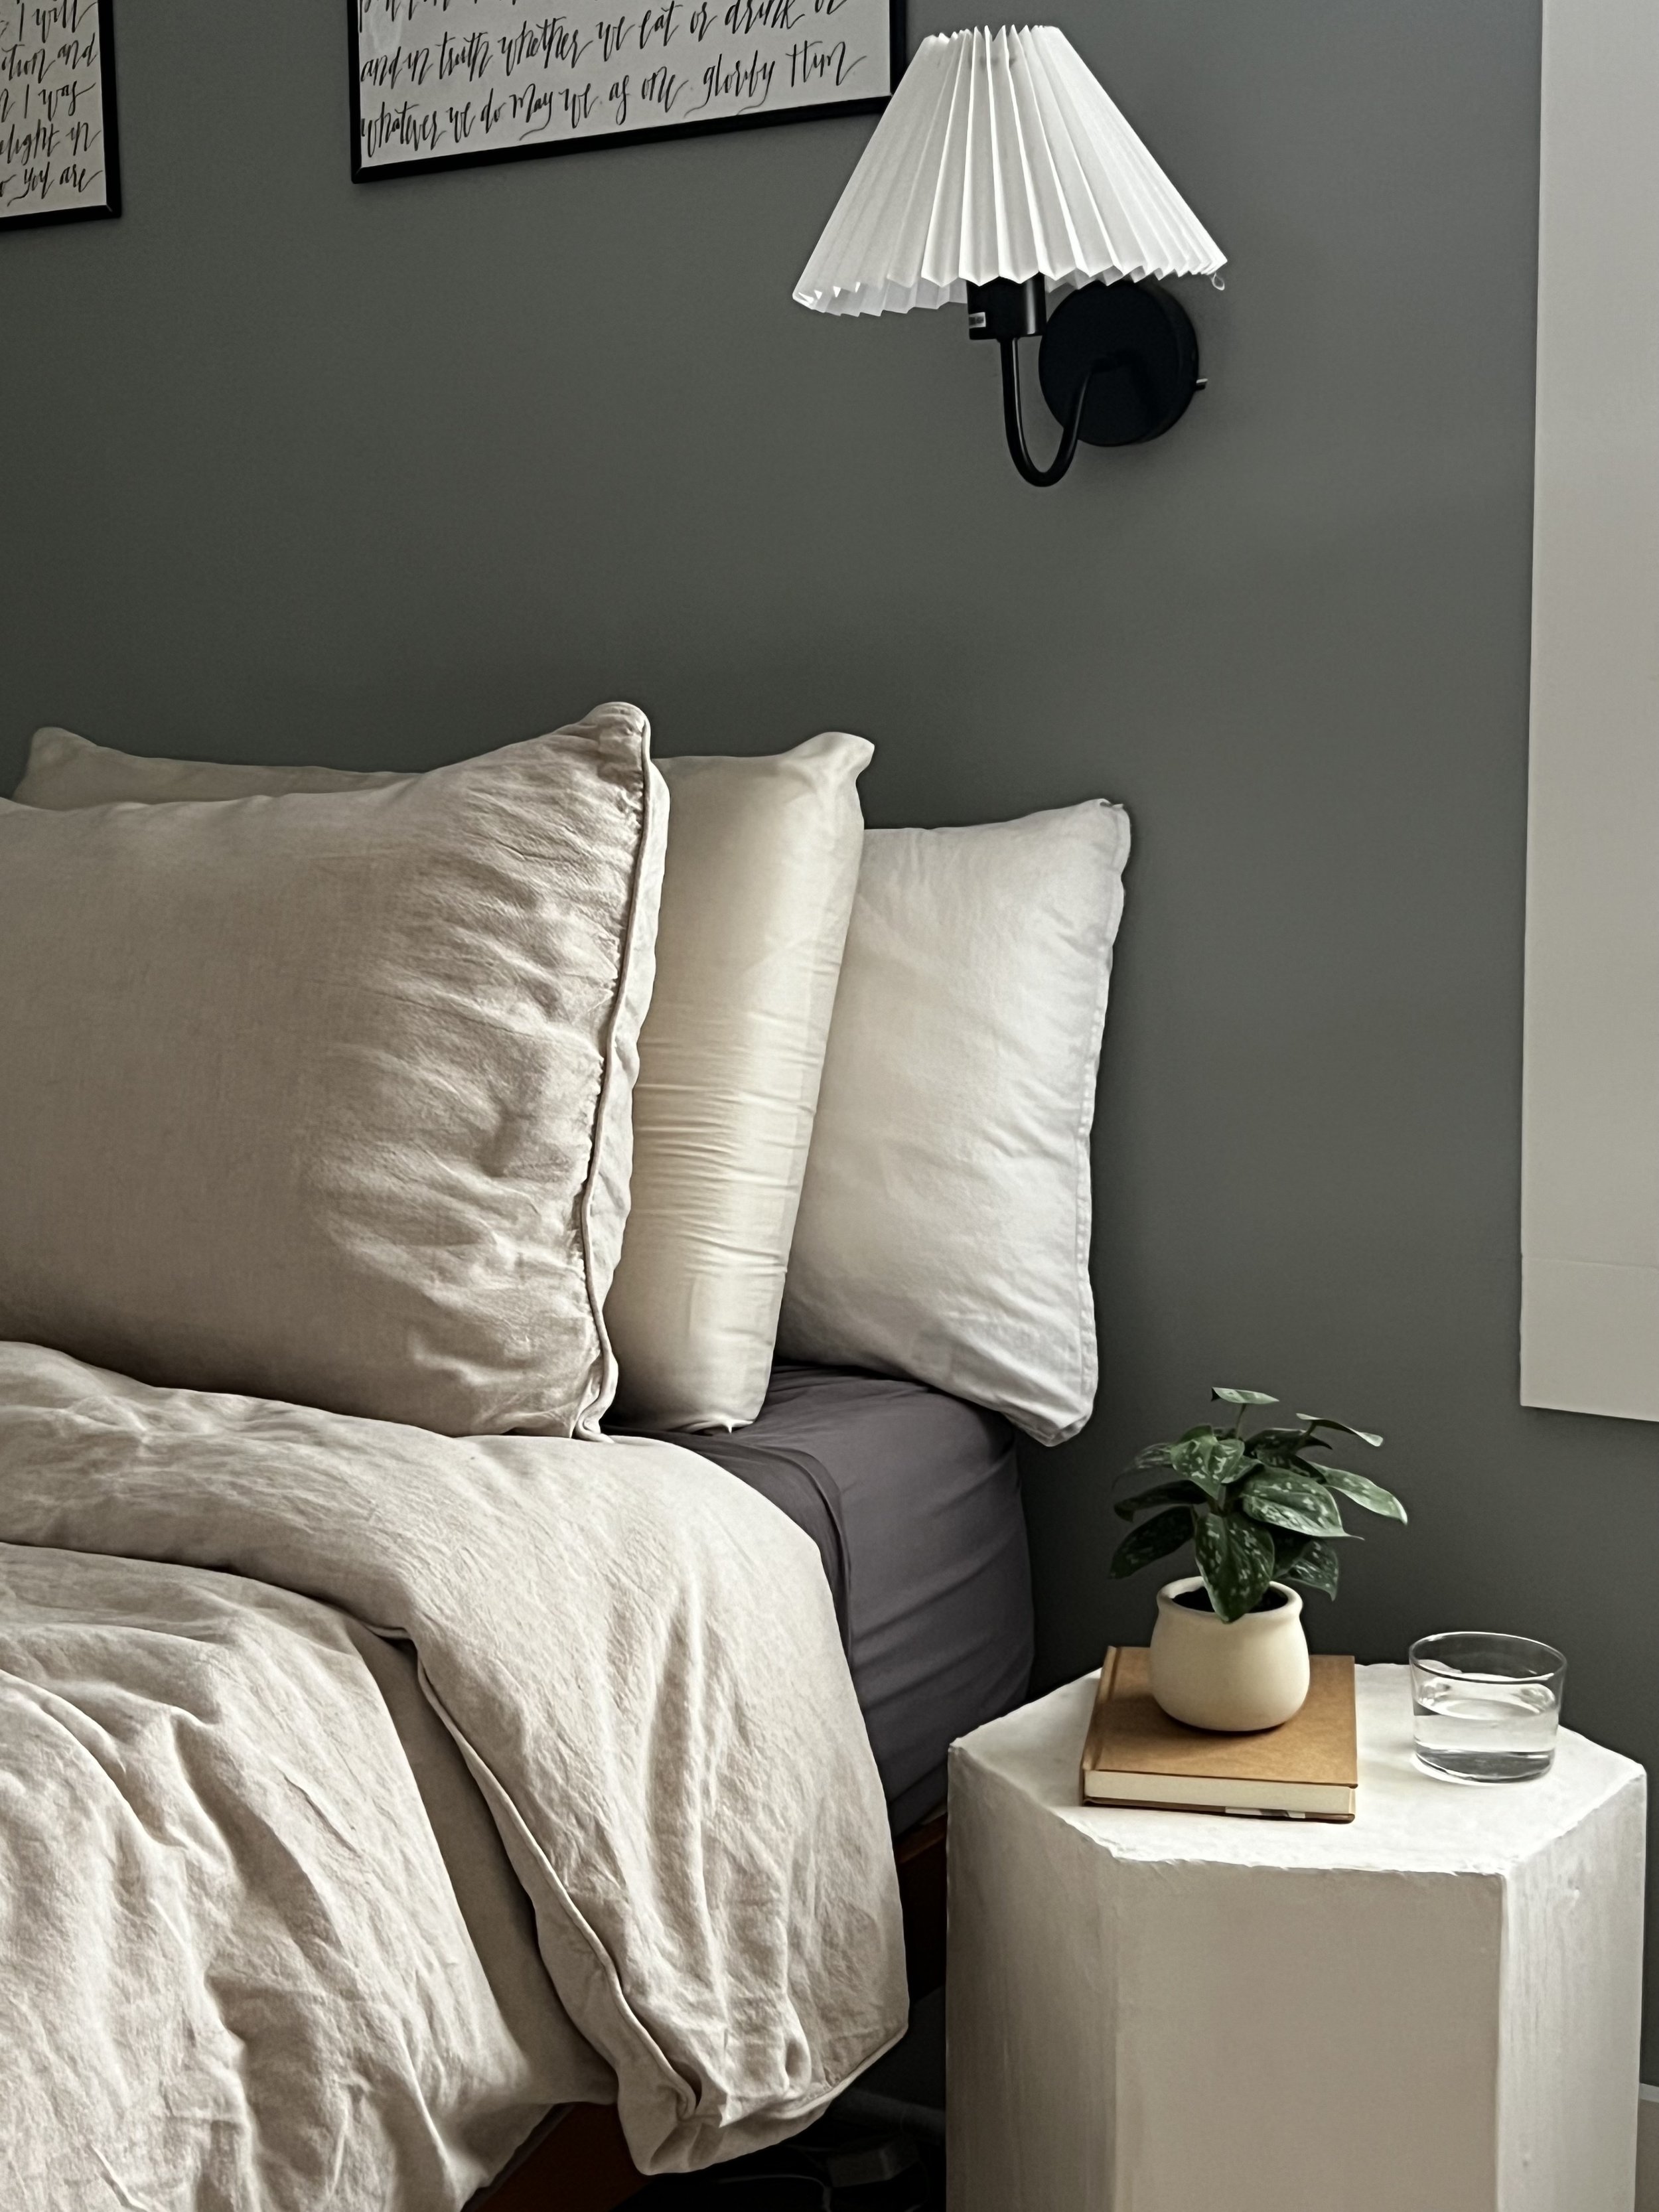
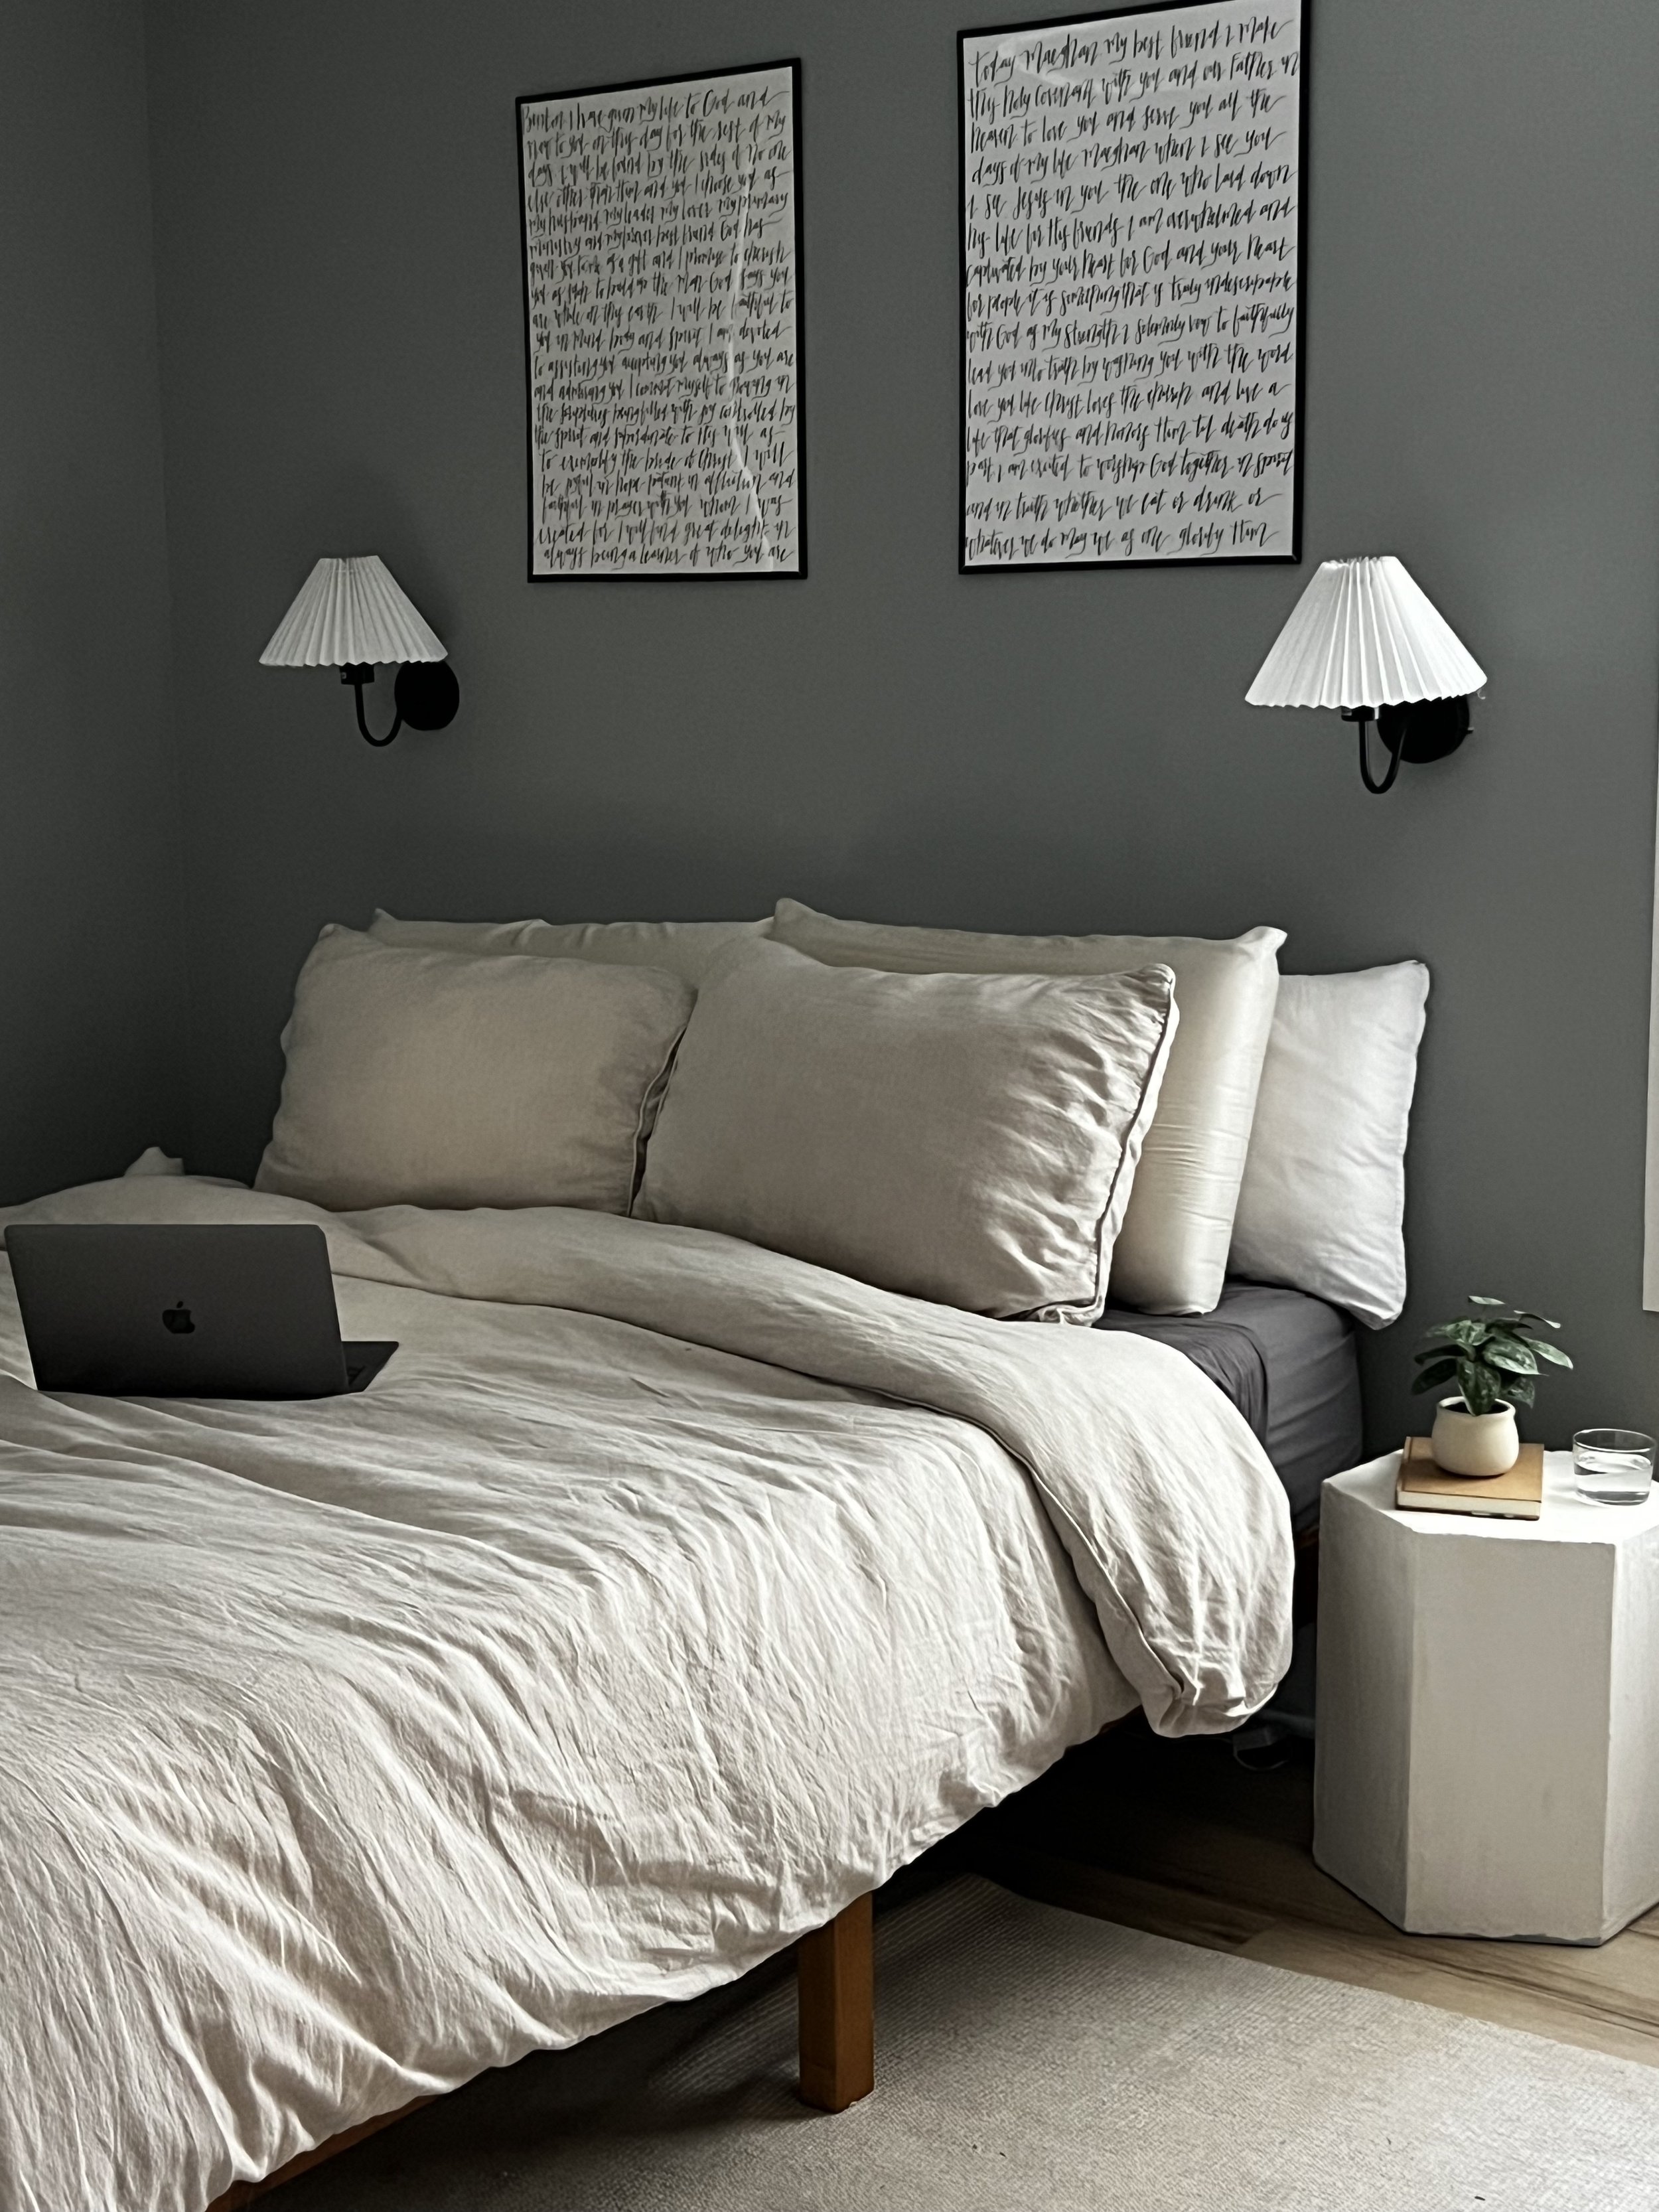
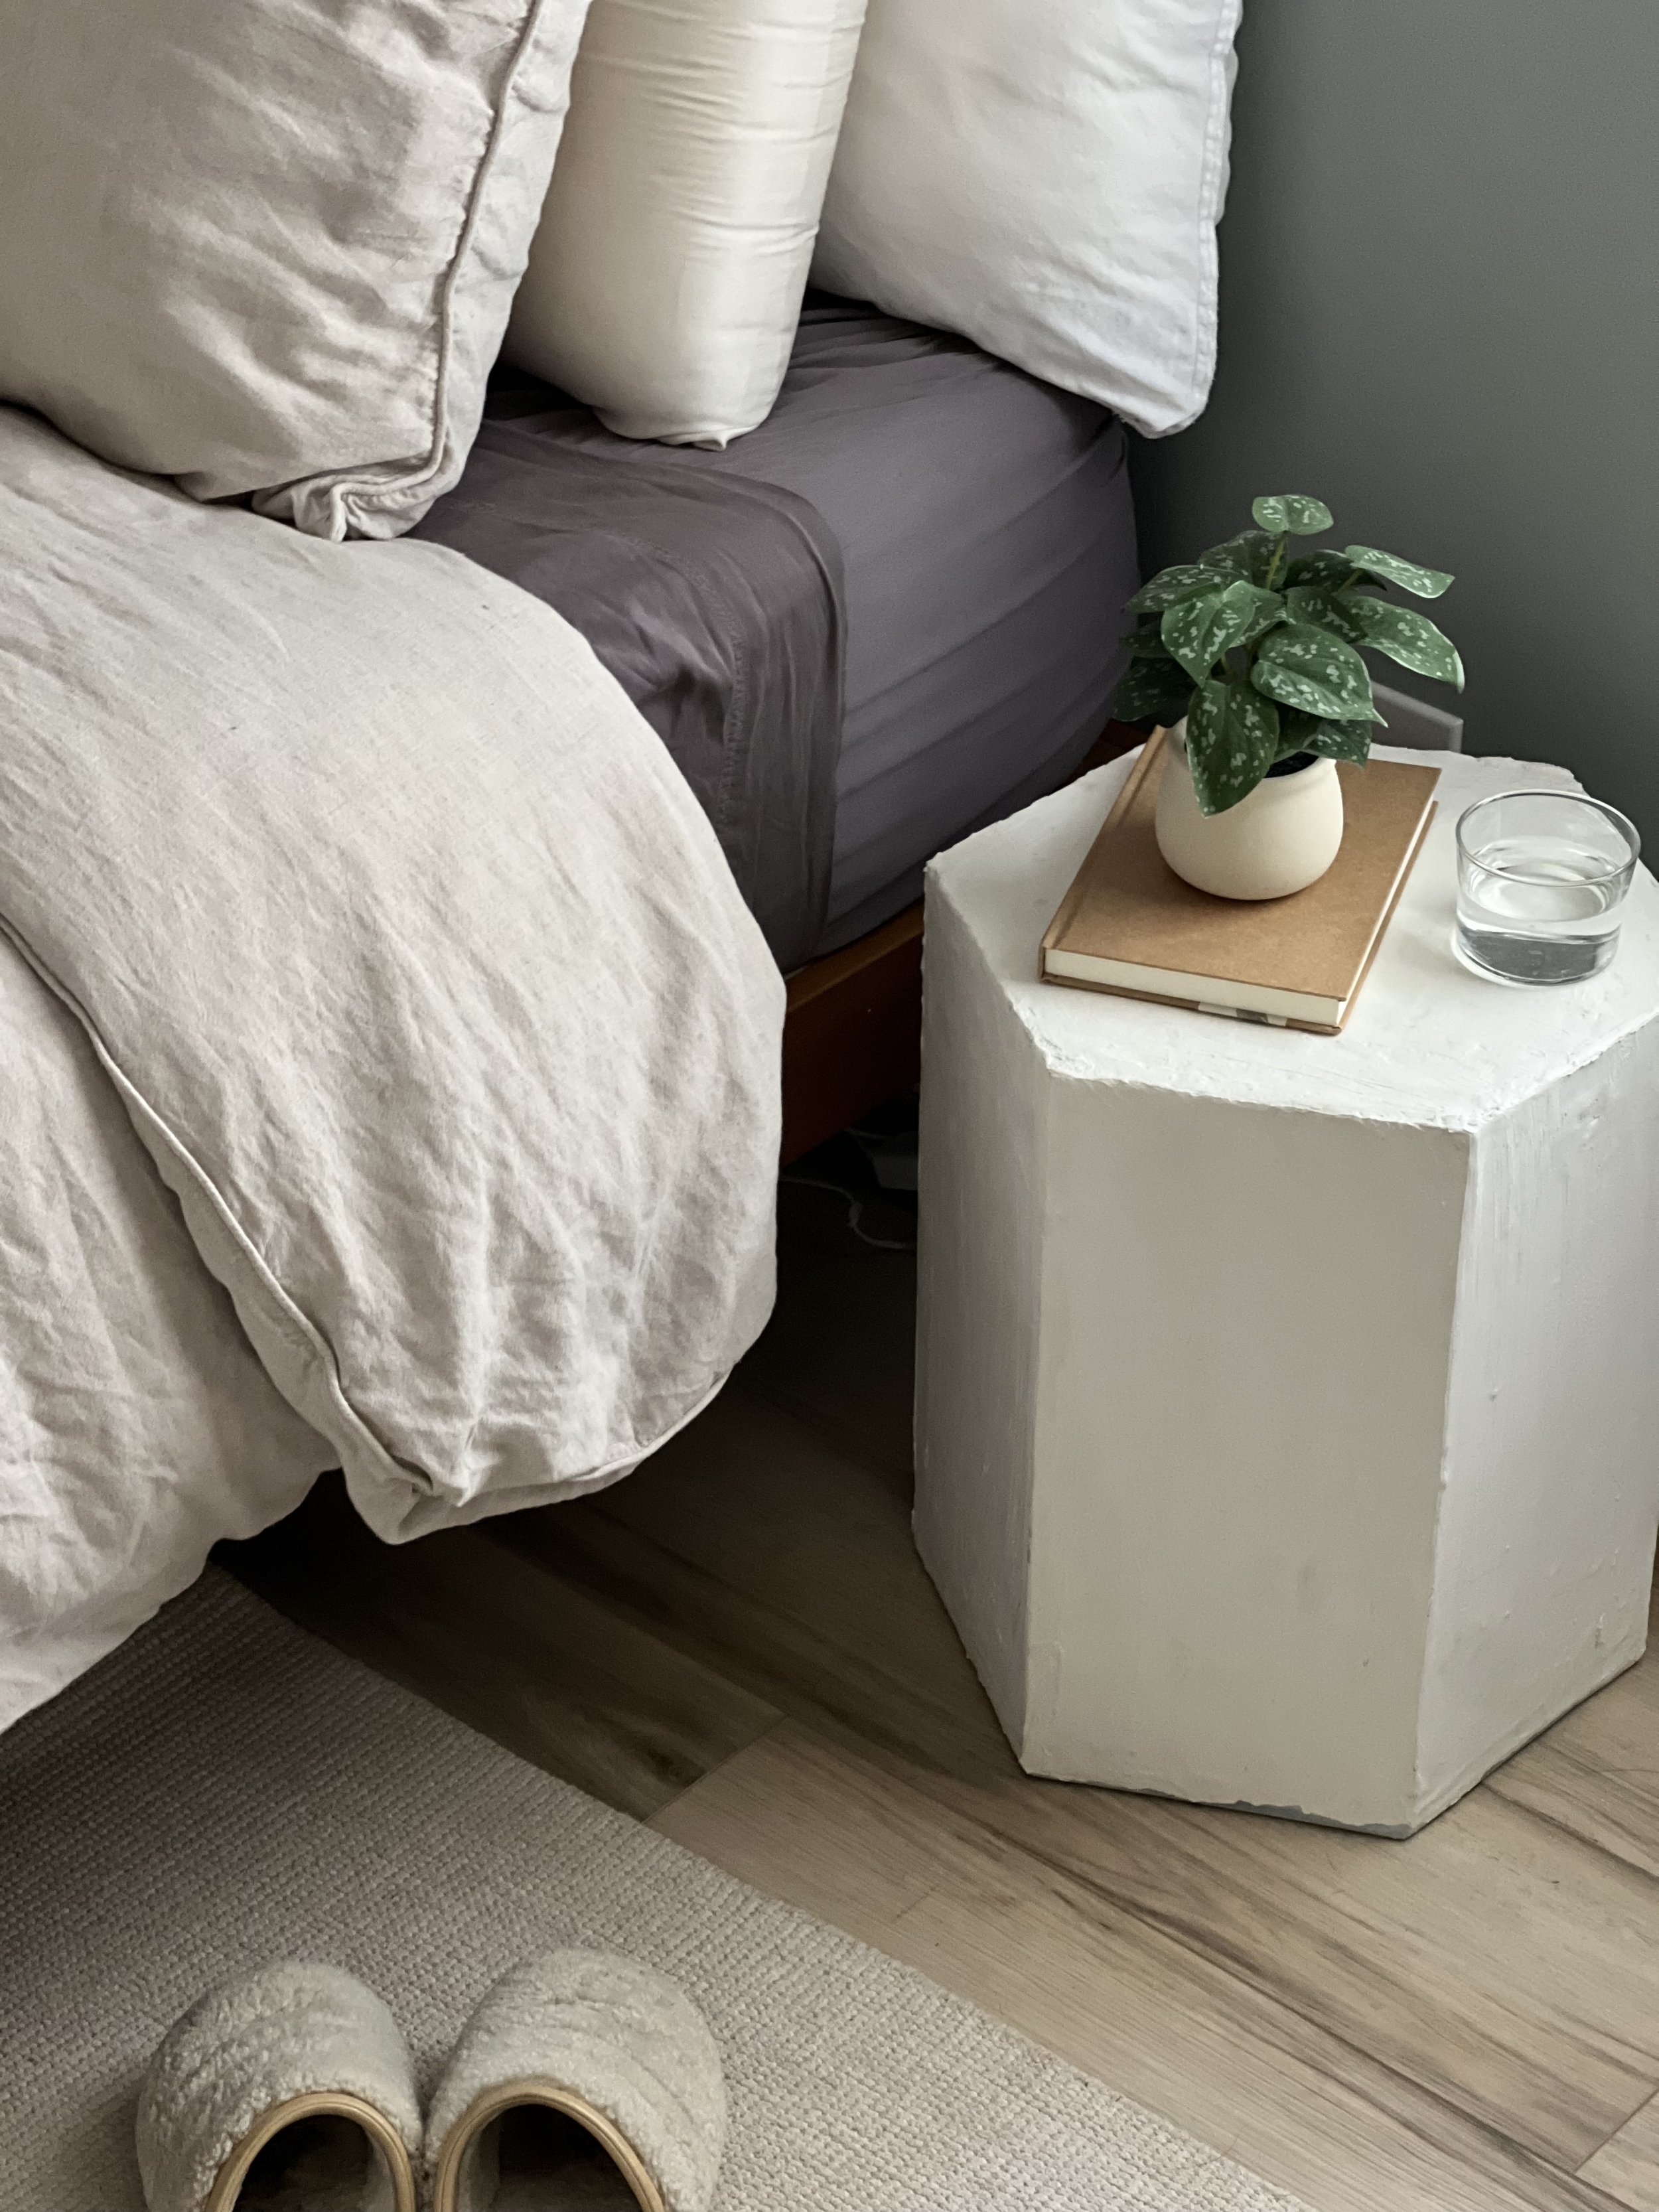
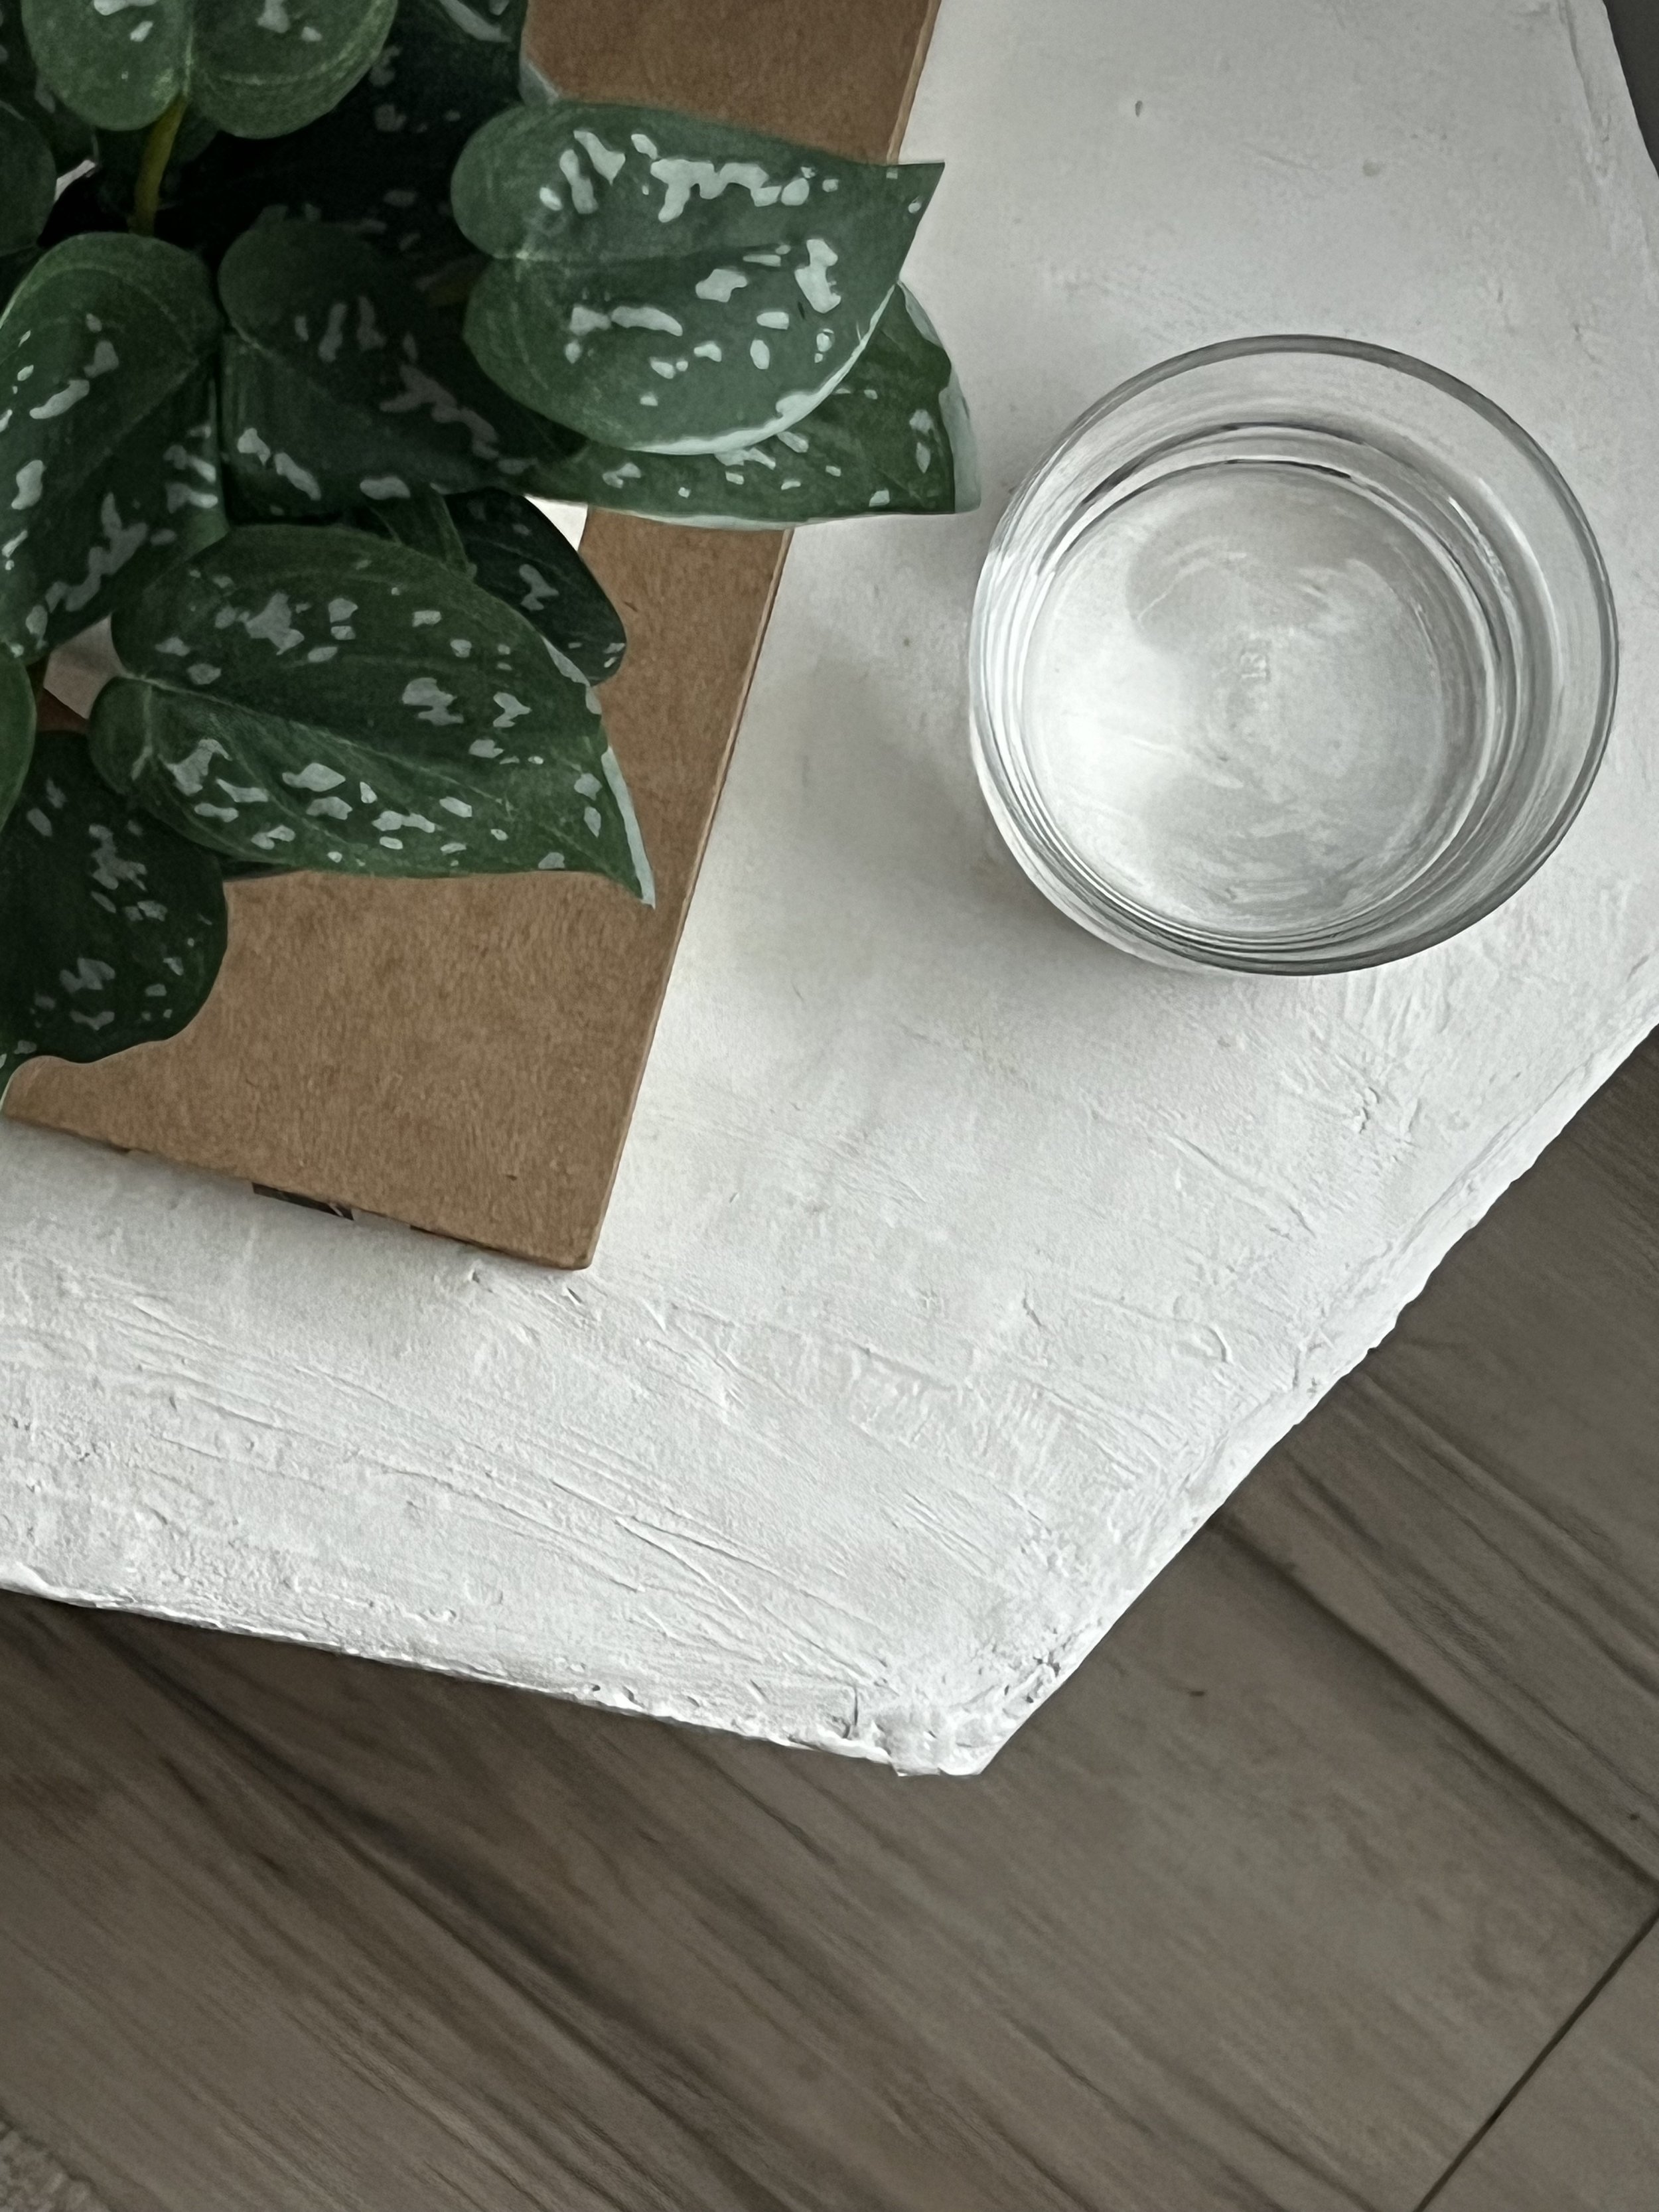
Here’s the end product in our room! It’s not exactly perfect in color or style to what I was originally looking into at the top of this post but it cost a total of $55 for the whole project and works perfectly next to our platform bed in our rental just for a year. When we move, I could repurpose them to outdoor tables or change up the color to a more creamy white instead of stark white.